Übersicht über Arduine Kurse an der VHS Tübingen in diesem Herbst
Auch diesen Herbst bieten wir wieder unsere beliebten Arduino-Kurse an - diesmal konnten wir die Kursgebühren reduzieren, da wir anbieten mit Leihhardware statt mit Kaufhardware zu arbeiten - meldet Euch schnell an, die Teilnehmerzahl ist begrenzt:
232-55100 Programmieren lernen mit Arduino - Schnupperkurs
- 2 * 3 Stunden am Samstag 14.10. und 21.10.2023 von 14.00-17.00 Uhr
- kostenlos
232-55101 Programmieren lernen mit Arduino Sensor Kit - Einstiegskurs
- 2 * 3 Stunden am Samstag 11.11. und 18.11.2023 von 14.00-17.00 Uhr
- 25,00€ - Kurspreis bei Verwendung von Leihhardware (Hardware kann für zusätzlich 40€ im Kurs gekauft werden)
232-55102 Grundlagen der Arduino Internet of things (IoT) Cloud
- 2 * 3 Stunden am Samstag 2.12. und 9.12.2023 von 14.00-17.00 Uhr
- 69,00€ - Kurspreis bei Verwendung von Leihhardware (Hardware kann für zusätzlich 40€ im Kurs gekauft werden)
Warum Arduino und was wollen wir damit erreichen?
Arduino ist die ideale Einstiegsplattform in die Welt der Maker und des Programmierens:
Arduino verknüpft einfache Programme mit der physikalischen Welt, denn man programmiert kleine Computer, sogenannte Microcontroller, die mit der Welt interagieren und z.B. Sensordaten messen oder Leds und Motoren steuern.
Man kann also den Effekt seines Programmes unmittelbar sehen oder hören und kann innerhalb kurzer Zeit Maker-Projekte wie Wetterstation, Beleuchtungssteuerung, Messen und Loggen von Strom, Wasser, einfache Robotikaufgaben etc. erlernen und selbst realisieren.
Es gibt zwar mittlerweile auch im Niedrigpreis-Segment andere beliebte Plattformen wie Raspberry Pi oder kompatible Controller (wie ESP32), aber die Arduino Plattform ist immer noch die am besten dokumentierte Plattform mit der besten Unterstützung durch einen grossen Kreis von Anwendern - so bekommt man jederzeit Hilfe zur Selbsthilfe bei den eigenen Projekten.
Die Konzepte, die wir in unseren Kursen vermitteln können dann aber auch auf andere Plattformen und Programmiersprachen übertragen und angewandt werden.
Wenn Ihr Euch vorab etwas in die Arduino-Welt einlesen wollt - hier sind links zu der englischen Arduino-Webseite und dem deutschsprachigen Funduino
Kursbeschreibungen
Die Kursbeschreibungen im Detail findet ihr auf der VHS-Seite - siehe Links oben.
Hier nur noch etwas mehr Details über die jeweilige Zielgruppe und Kursziele:
Schnupperkurs
232-55100 Programmieren lernen mit Arduino - Schnupperkurs
Diesen Kurs bieten wir kostenlos an, denn hier benötigen wir noch keine Hardware.
Alle Programme werden auf einem Simulator (auf dem PC) geschrieben.
Dieser Kurs ist für absolute Anfänger geeignet, die ausser der Benutzung eines PCs keine Vorkenntnisse mitbringen.
Wir verwenden in diesem Kurs den Arduino Simulator Autodesk Tinkercad
Kursziel ist es, ein Grundverständnis für die Funktionsweise eines Computers am Beispiel des Arduino Microcontrollers zu entwickeln und erste einfache, eigene Programme zu entwickeln, die z.B. Messwerte von Sensoren erfassen oder LEDs zum blinken bringen.
Die Programme werden zunächst “visuell programmiert” - erst im 2.Teil verwenden wir dann die Arduino Programmiersprache C.
Wir empfehlen Anfängern diesen Kurs vor den anderen Kursen zu belegen.
Geeignet ist der Kurs auch wenn ihr euch nicht sicher seid, ob das das richtige für euch ist und ihr erstmal reinschnuppern wollt, bevor ihr 100€ für die Hardware in den anderen Kursen investiert.
Sensorkit
232-55101 Programmieren lernen mit Arduino Sensor Kit - Einstiegskurs
In diesem Kurs verwenden wir echte Hardware - einen Arduino Uno mit einem Sensorkit - und erstellen Programme auf dem PC, die wir dann auf dem Arduino zur Ausführung bringen.
Diese Programme lesen Sensorwerte (Temperatur, Luftfeuchtigkeit, Beschleunigung) des Sensorkits und kontrollieren Aktoren wie Buzzer oder LED.
Die Programme werden in der Arduino Programmiersprache C erstellt.
Auch dieser Kurs richtet sich an Anfänger in der Programmierung und wir werden alle Konzepte über Microcontroller und Programmieren von Grund auf erklären.
Arduino IoT Cloud
232-55102 Grundlagen der Arduino Internet of things (IoT) Cloud
Die Arduino IoT Cloud ermöglicht es, Arduinos und Arduino-kompatible Geräte mit dem Internet zu verbinden um dann z.B. Messwerte auf einer Smartphone-App anzuzeigen und zu visualisieren oder Geräte, die vom Arduino gesteuert werden, über eine App aus der Ferne zu steuern.
Arduino Iot Cloud Webseite auf Deutsch
In diesem Kurs setzen wir Vorkenntnisse mit Arduino-Programmierung voraus und fokussieren auf die Anbindung an die IoT Cloud.
Das heisst diese Kenntnisse solltet ihr entweder mitbringen oder davor einen der beiden anderen Kurse besuchen.
Wir werden also Arduino Grundlagen aus den Anfängerkursen nur kurz wiederholen und starten dann direkt mit einer
Einführung in die Arduino IoT Cloud (Registrieren von Endgeräten, Things, Devices, Variablen, Dashboard).
Dann erfassen wir Sensordaten mit einem Arduino Sketch (Programm)
und speichern diese Sensordaten in der Arduino IoT Cloud.
Wir erstellen dann eine App die den Sensor-Datenverlauf auf dem Smartphone anzeigen.
Ausserdem werden wir den Sensor-Datenverlauf in Google Sheets speichern und visualisieren.
LoRaWAN ist eine Übertragungstechnik, die es erlaubt, Geräte von überall kostenlos mit der Cloud zu verbinden - ohne dass ein WLAN in der Nähe ist.
Auch diese Technik lernen wir kennen und erfahren, für welche Projekte LoRaWAN geeignet ist und wo besser eine WLAN-Anbindung benutzt wird.
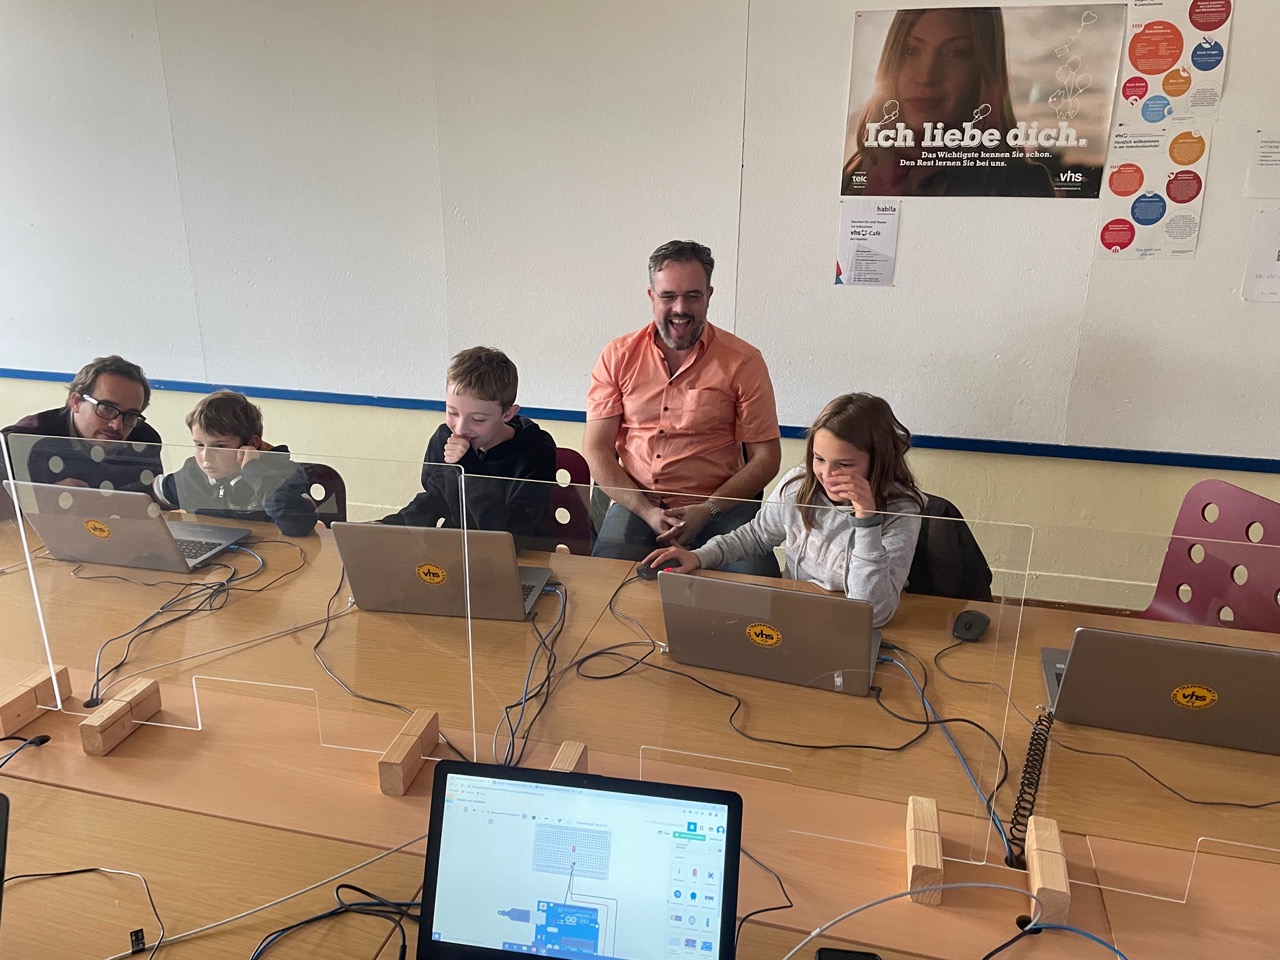
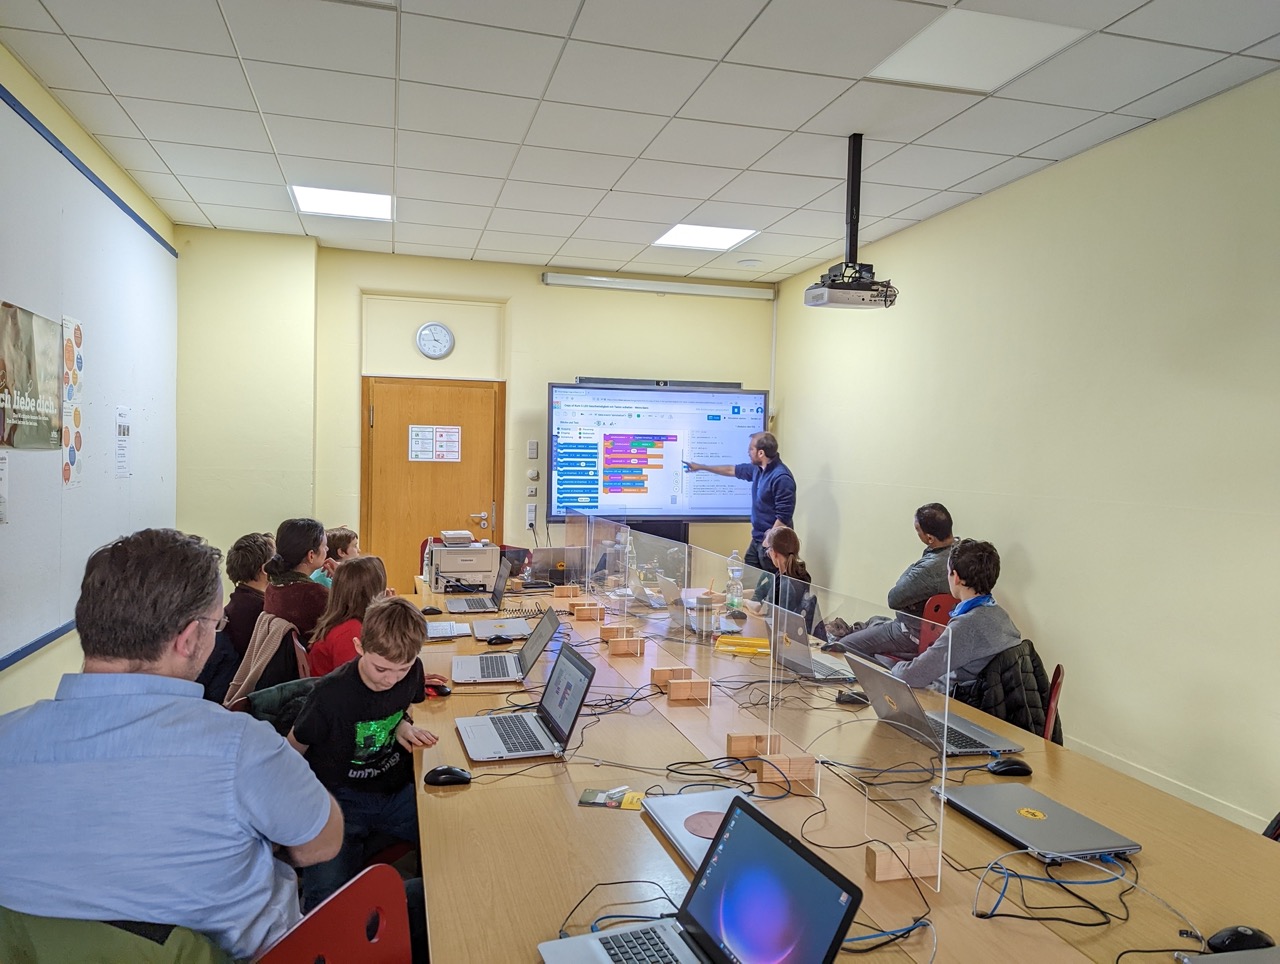
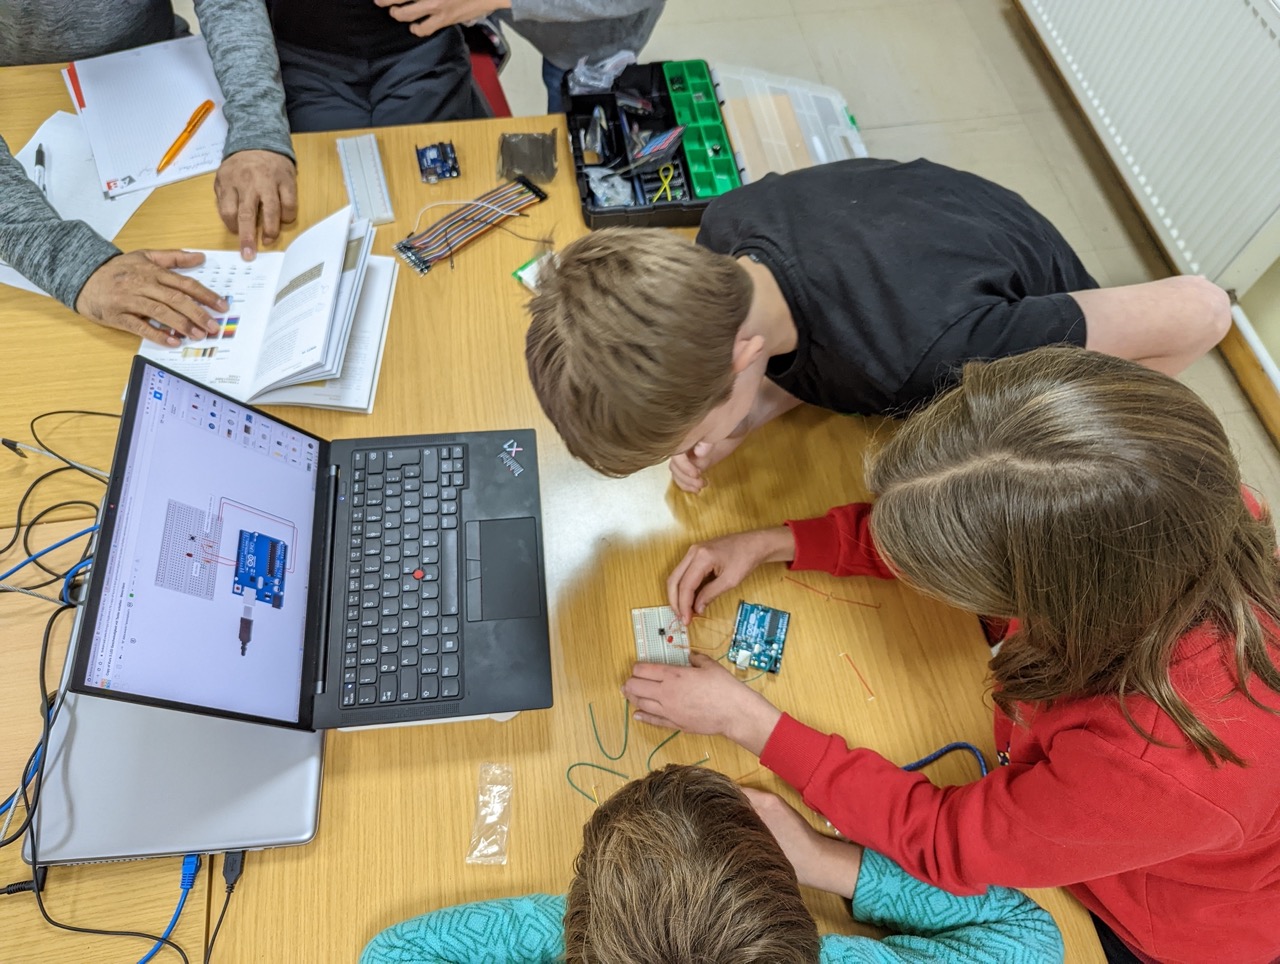
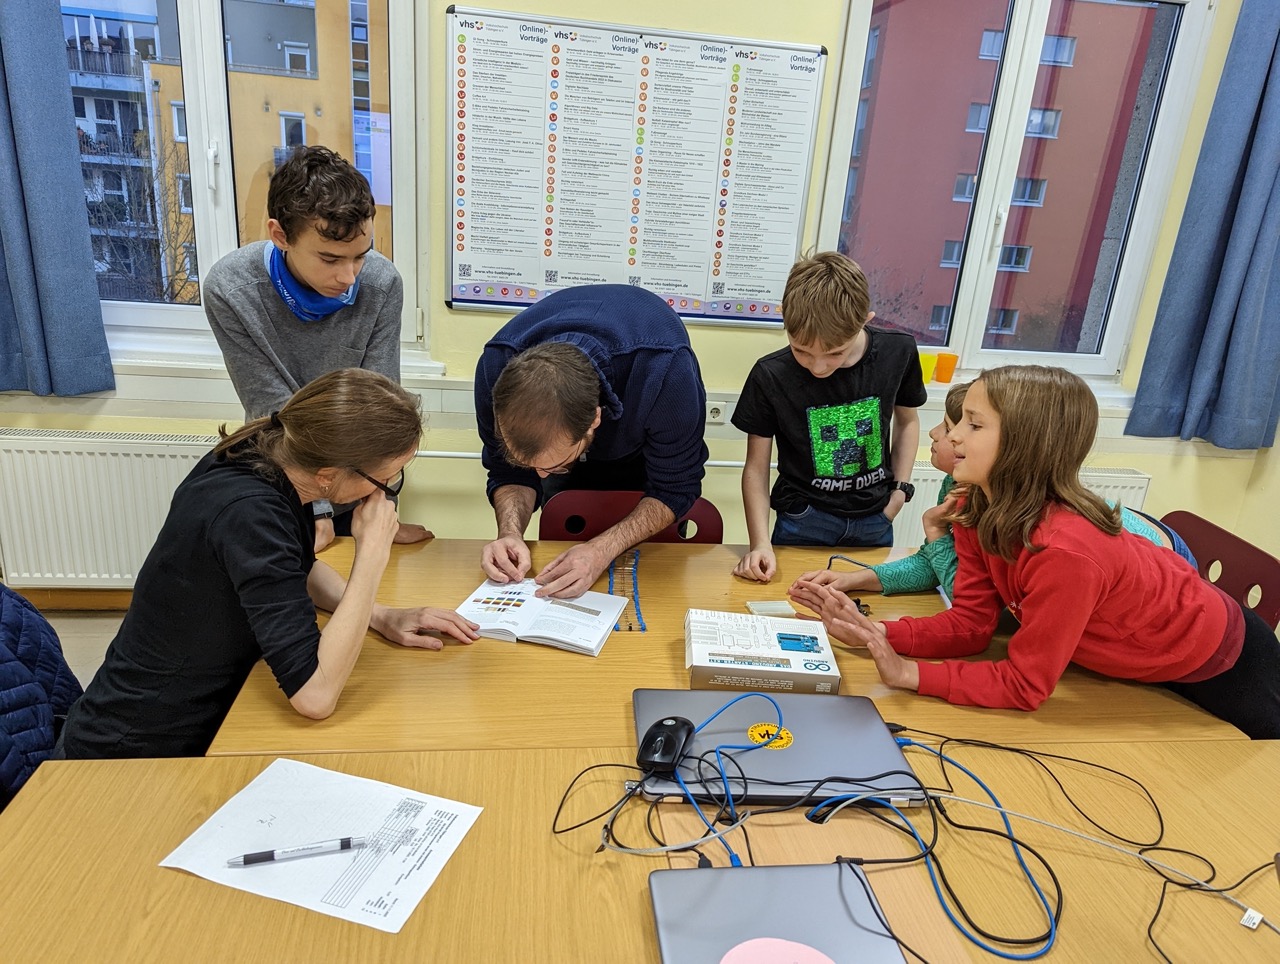
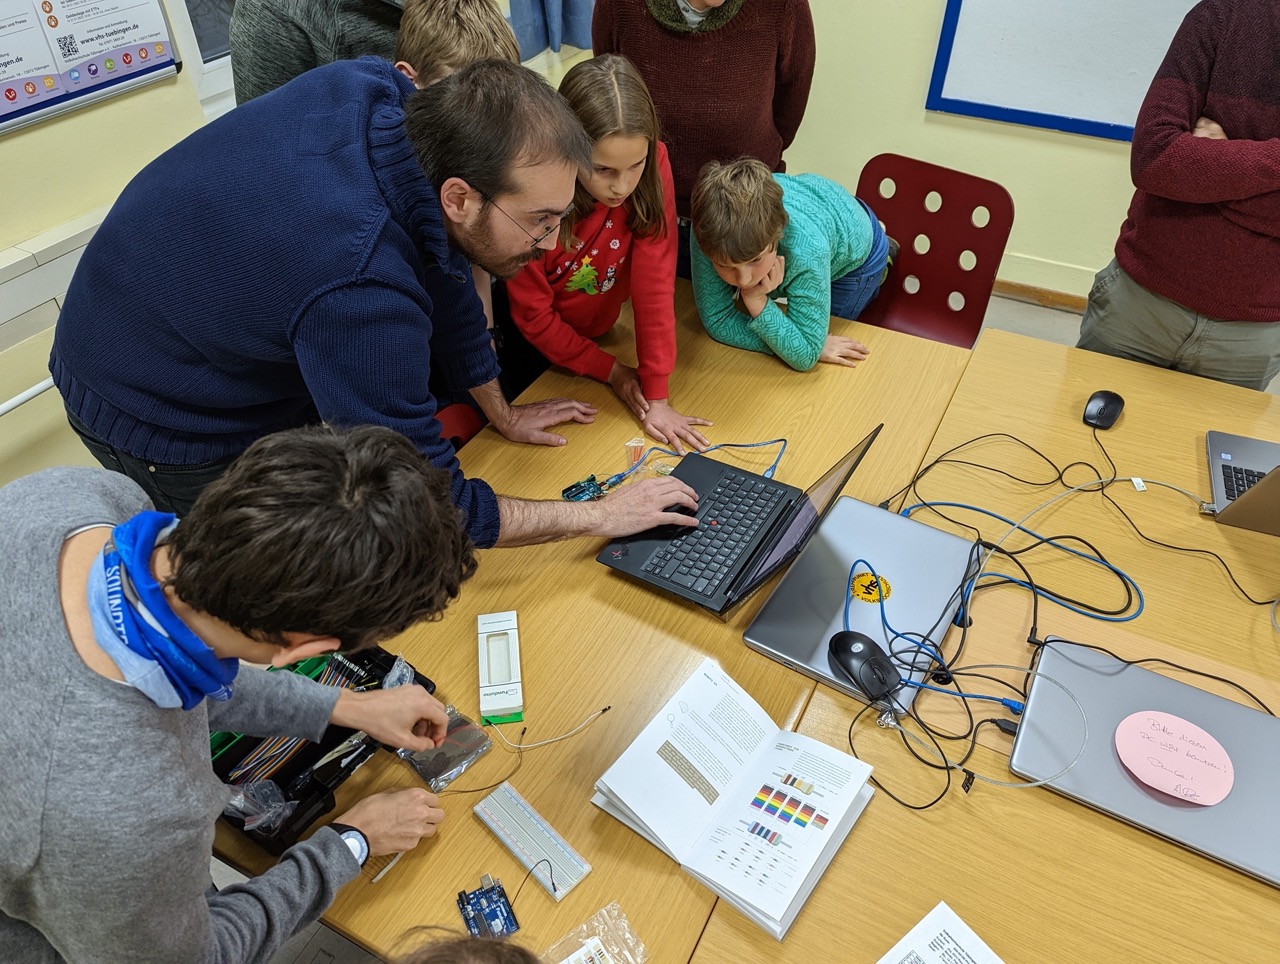
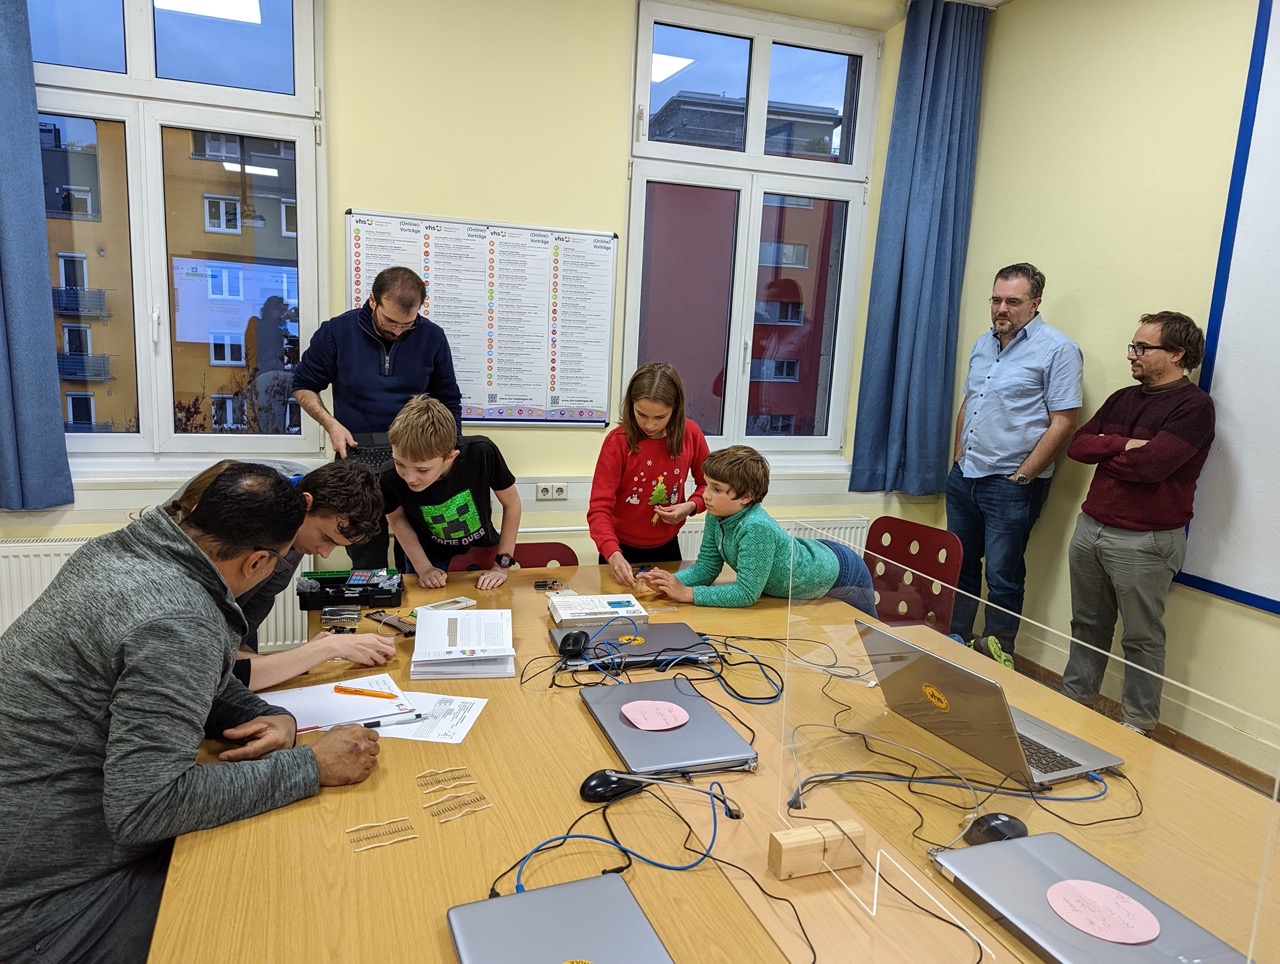
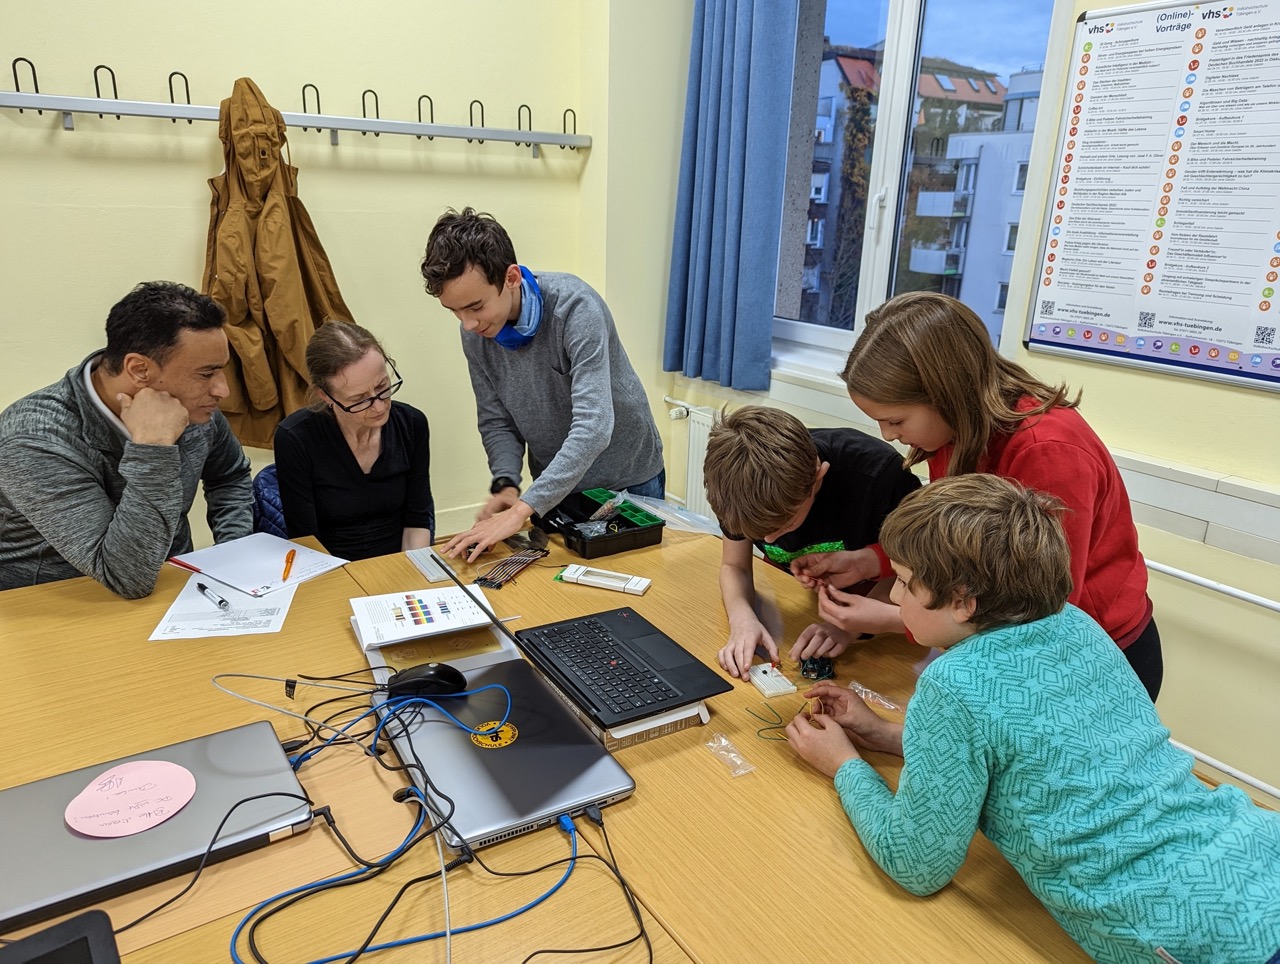
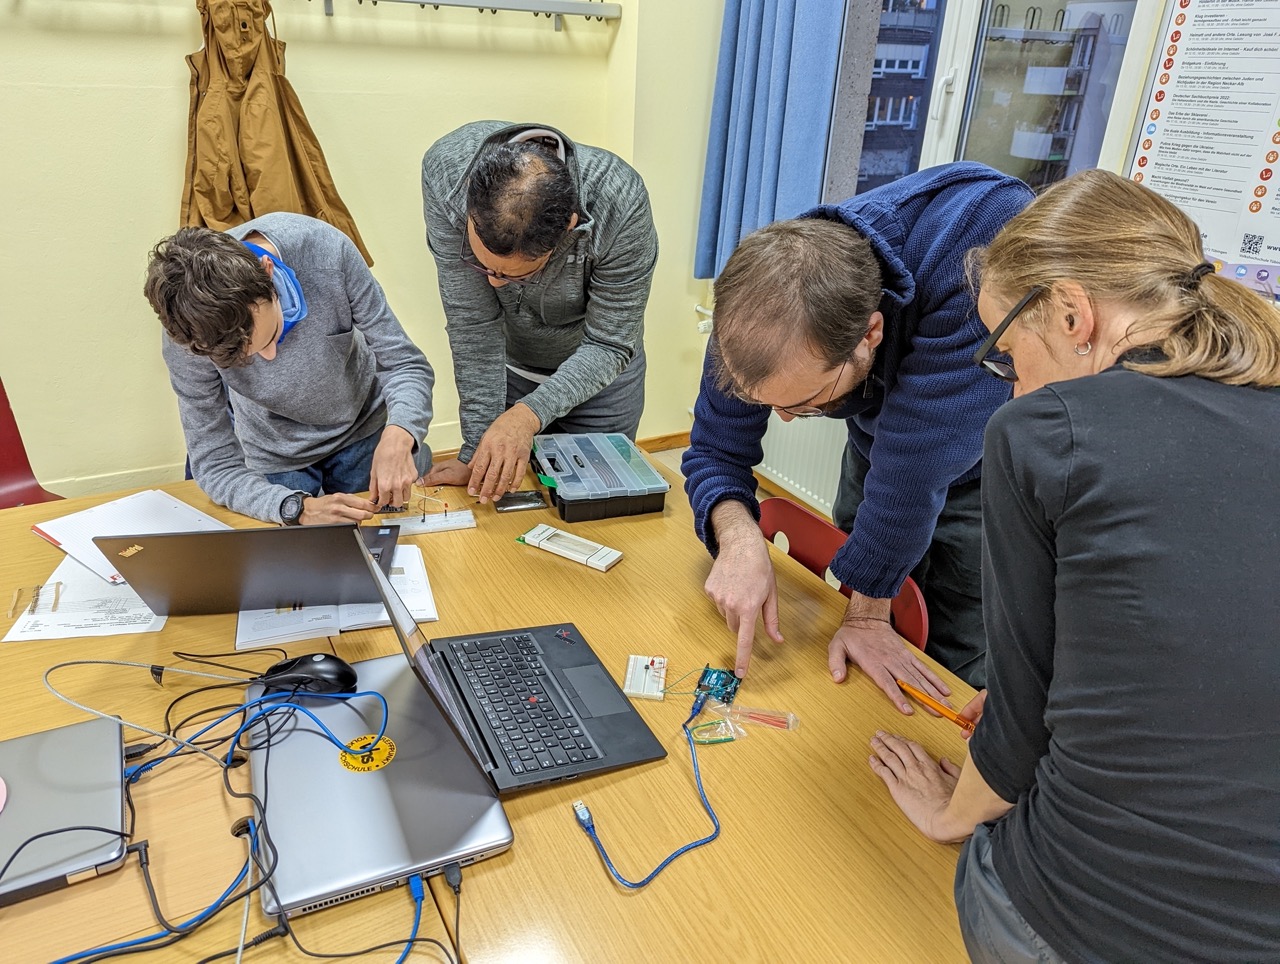
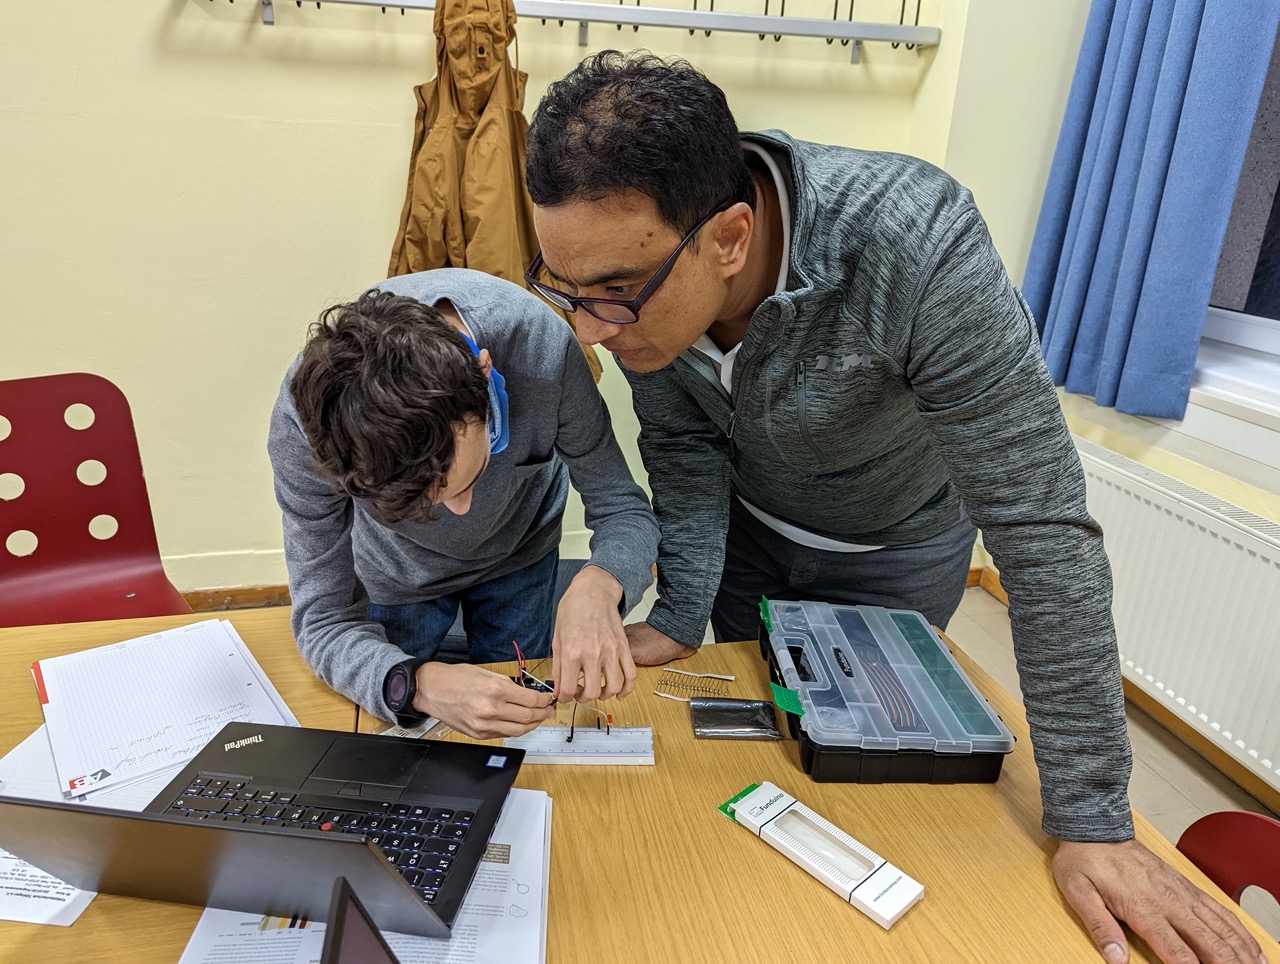
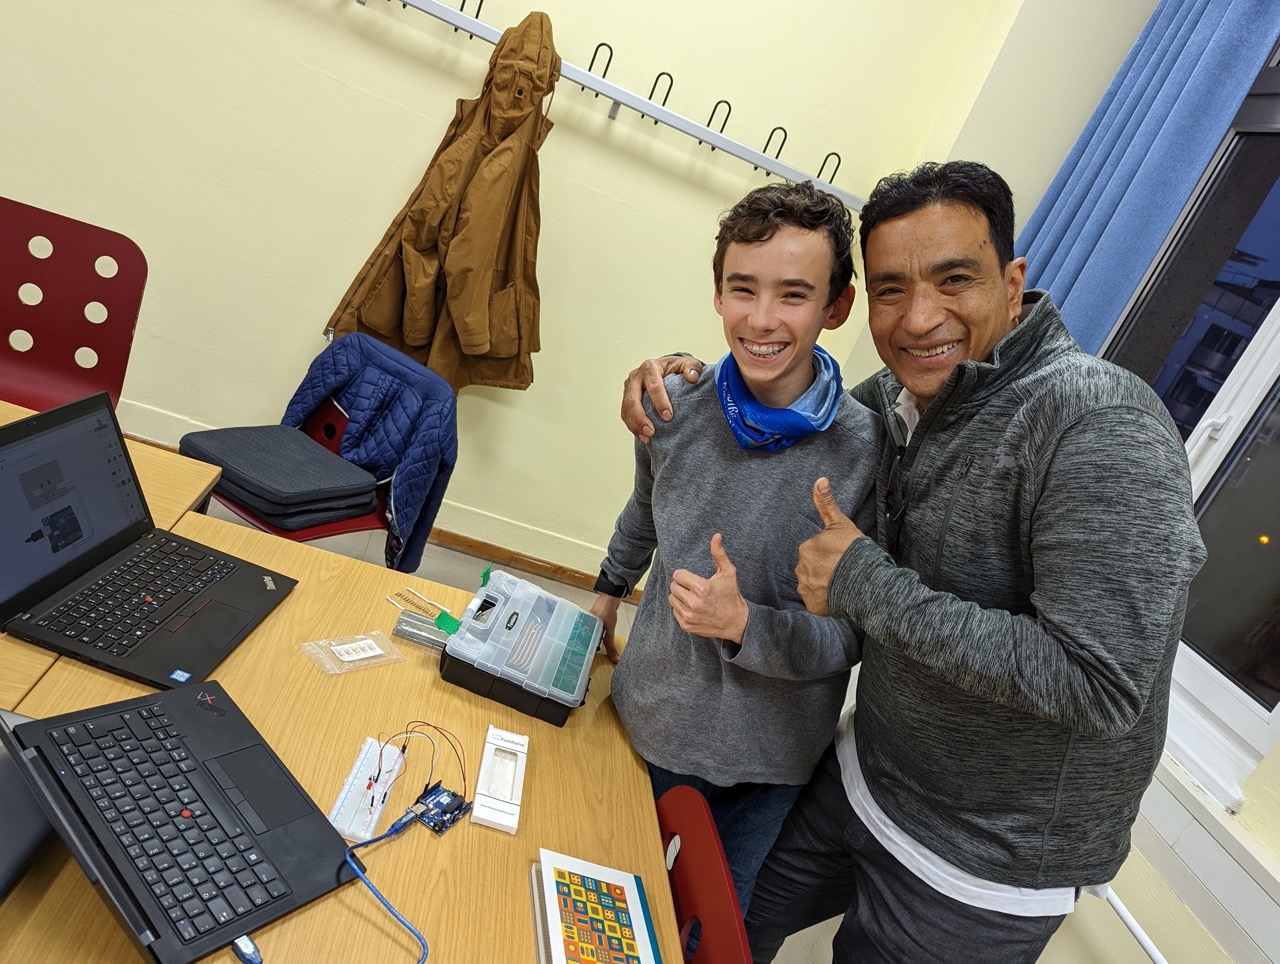
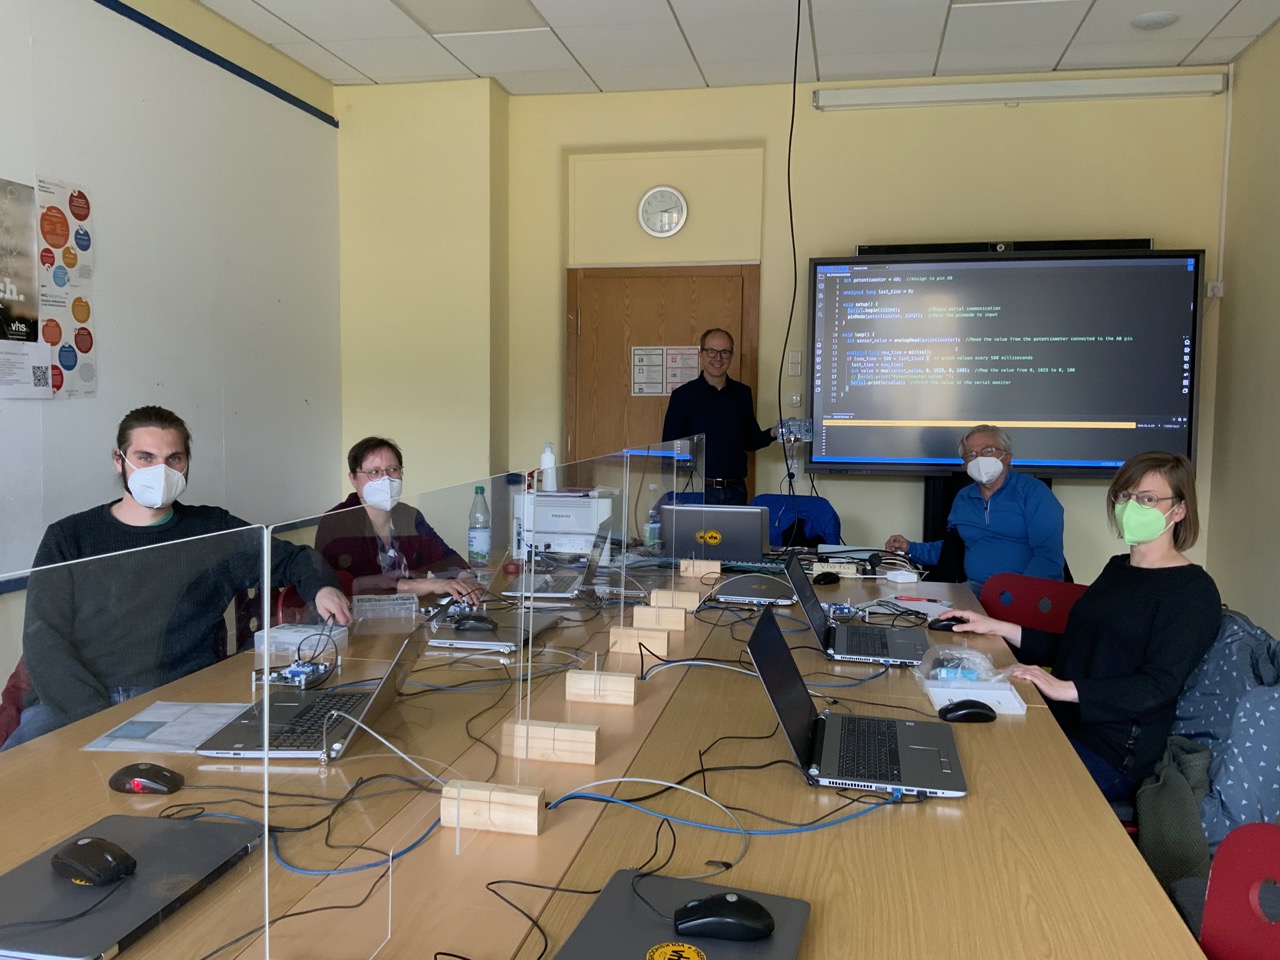
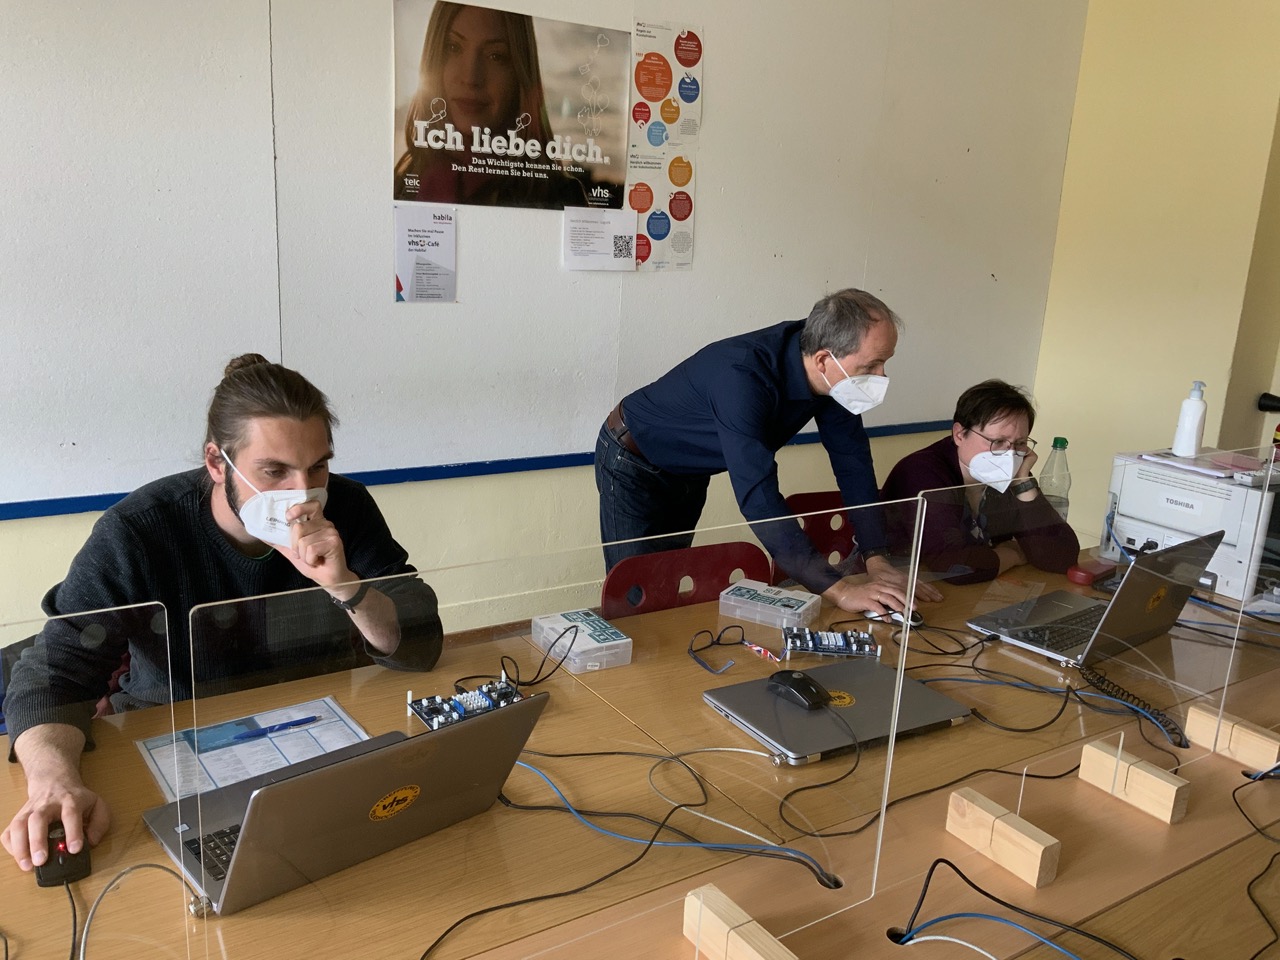
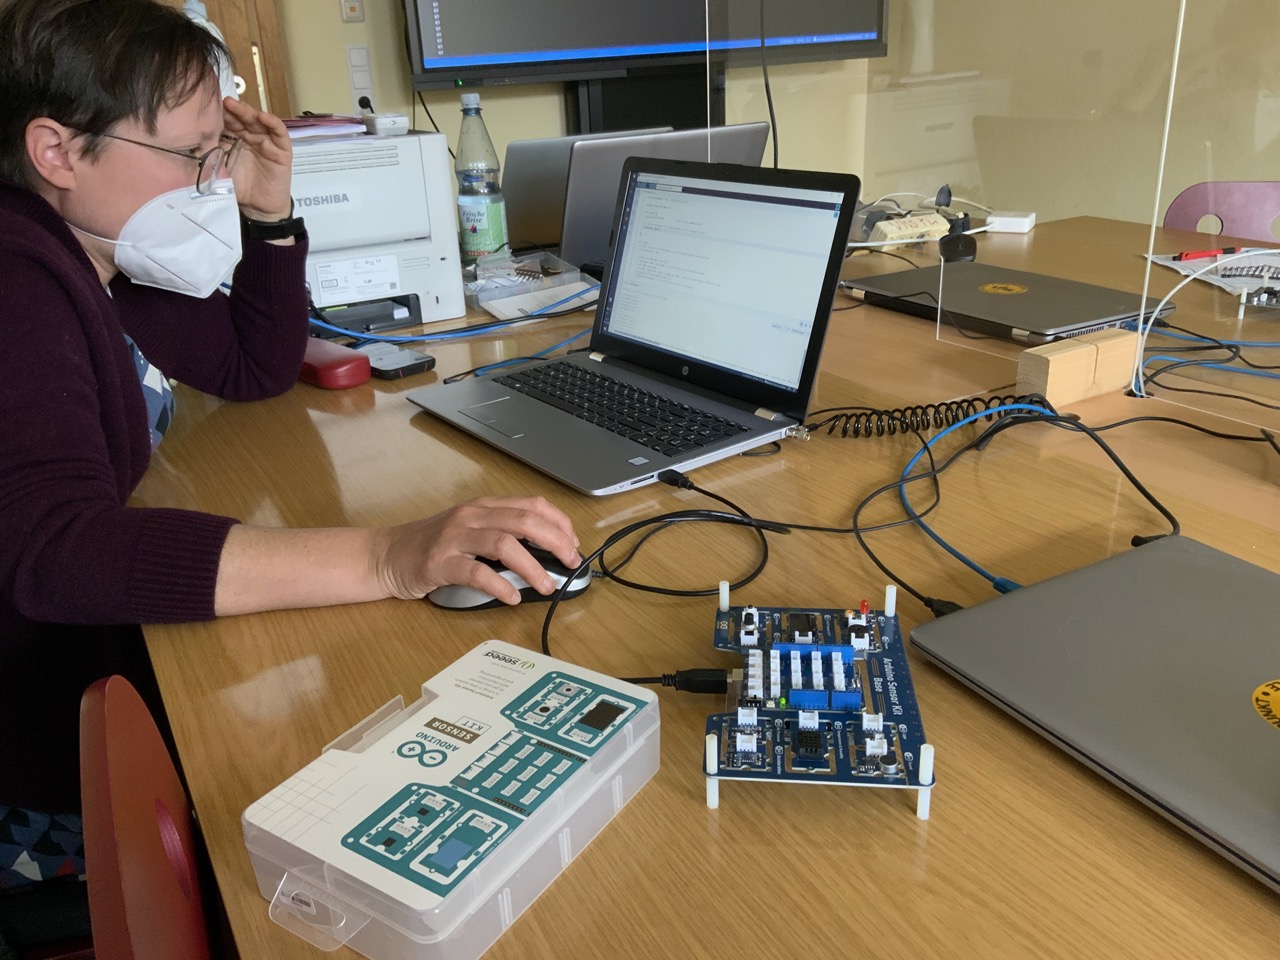
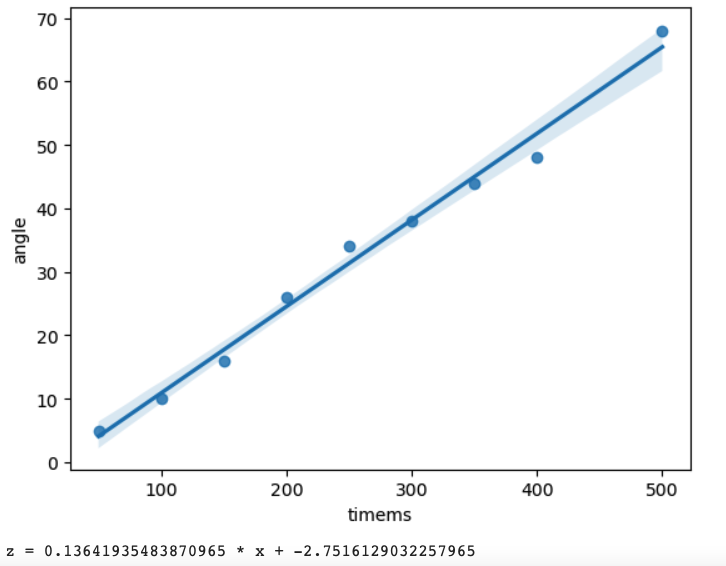
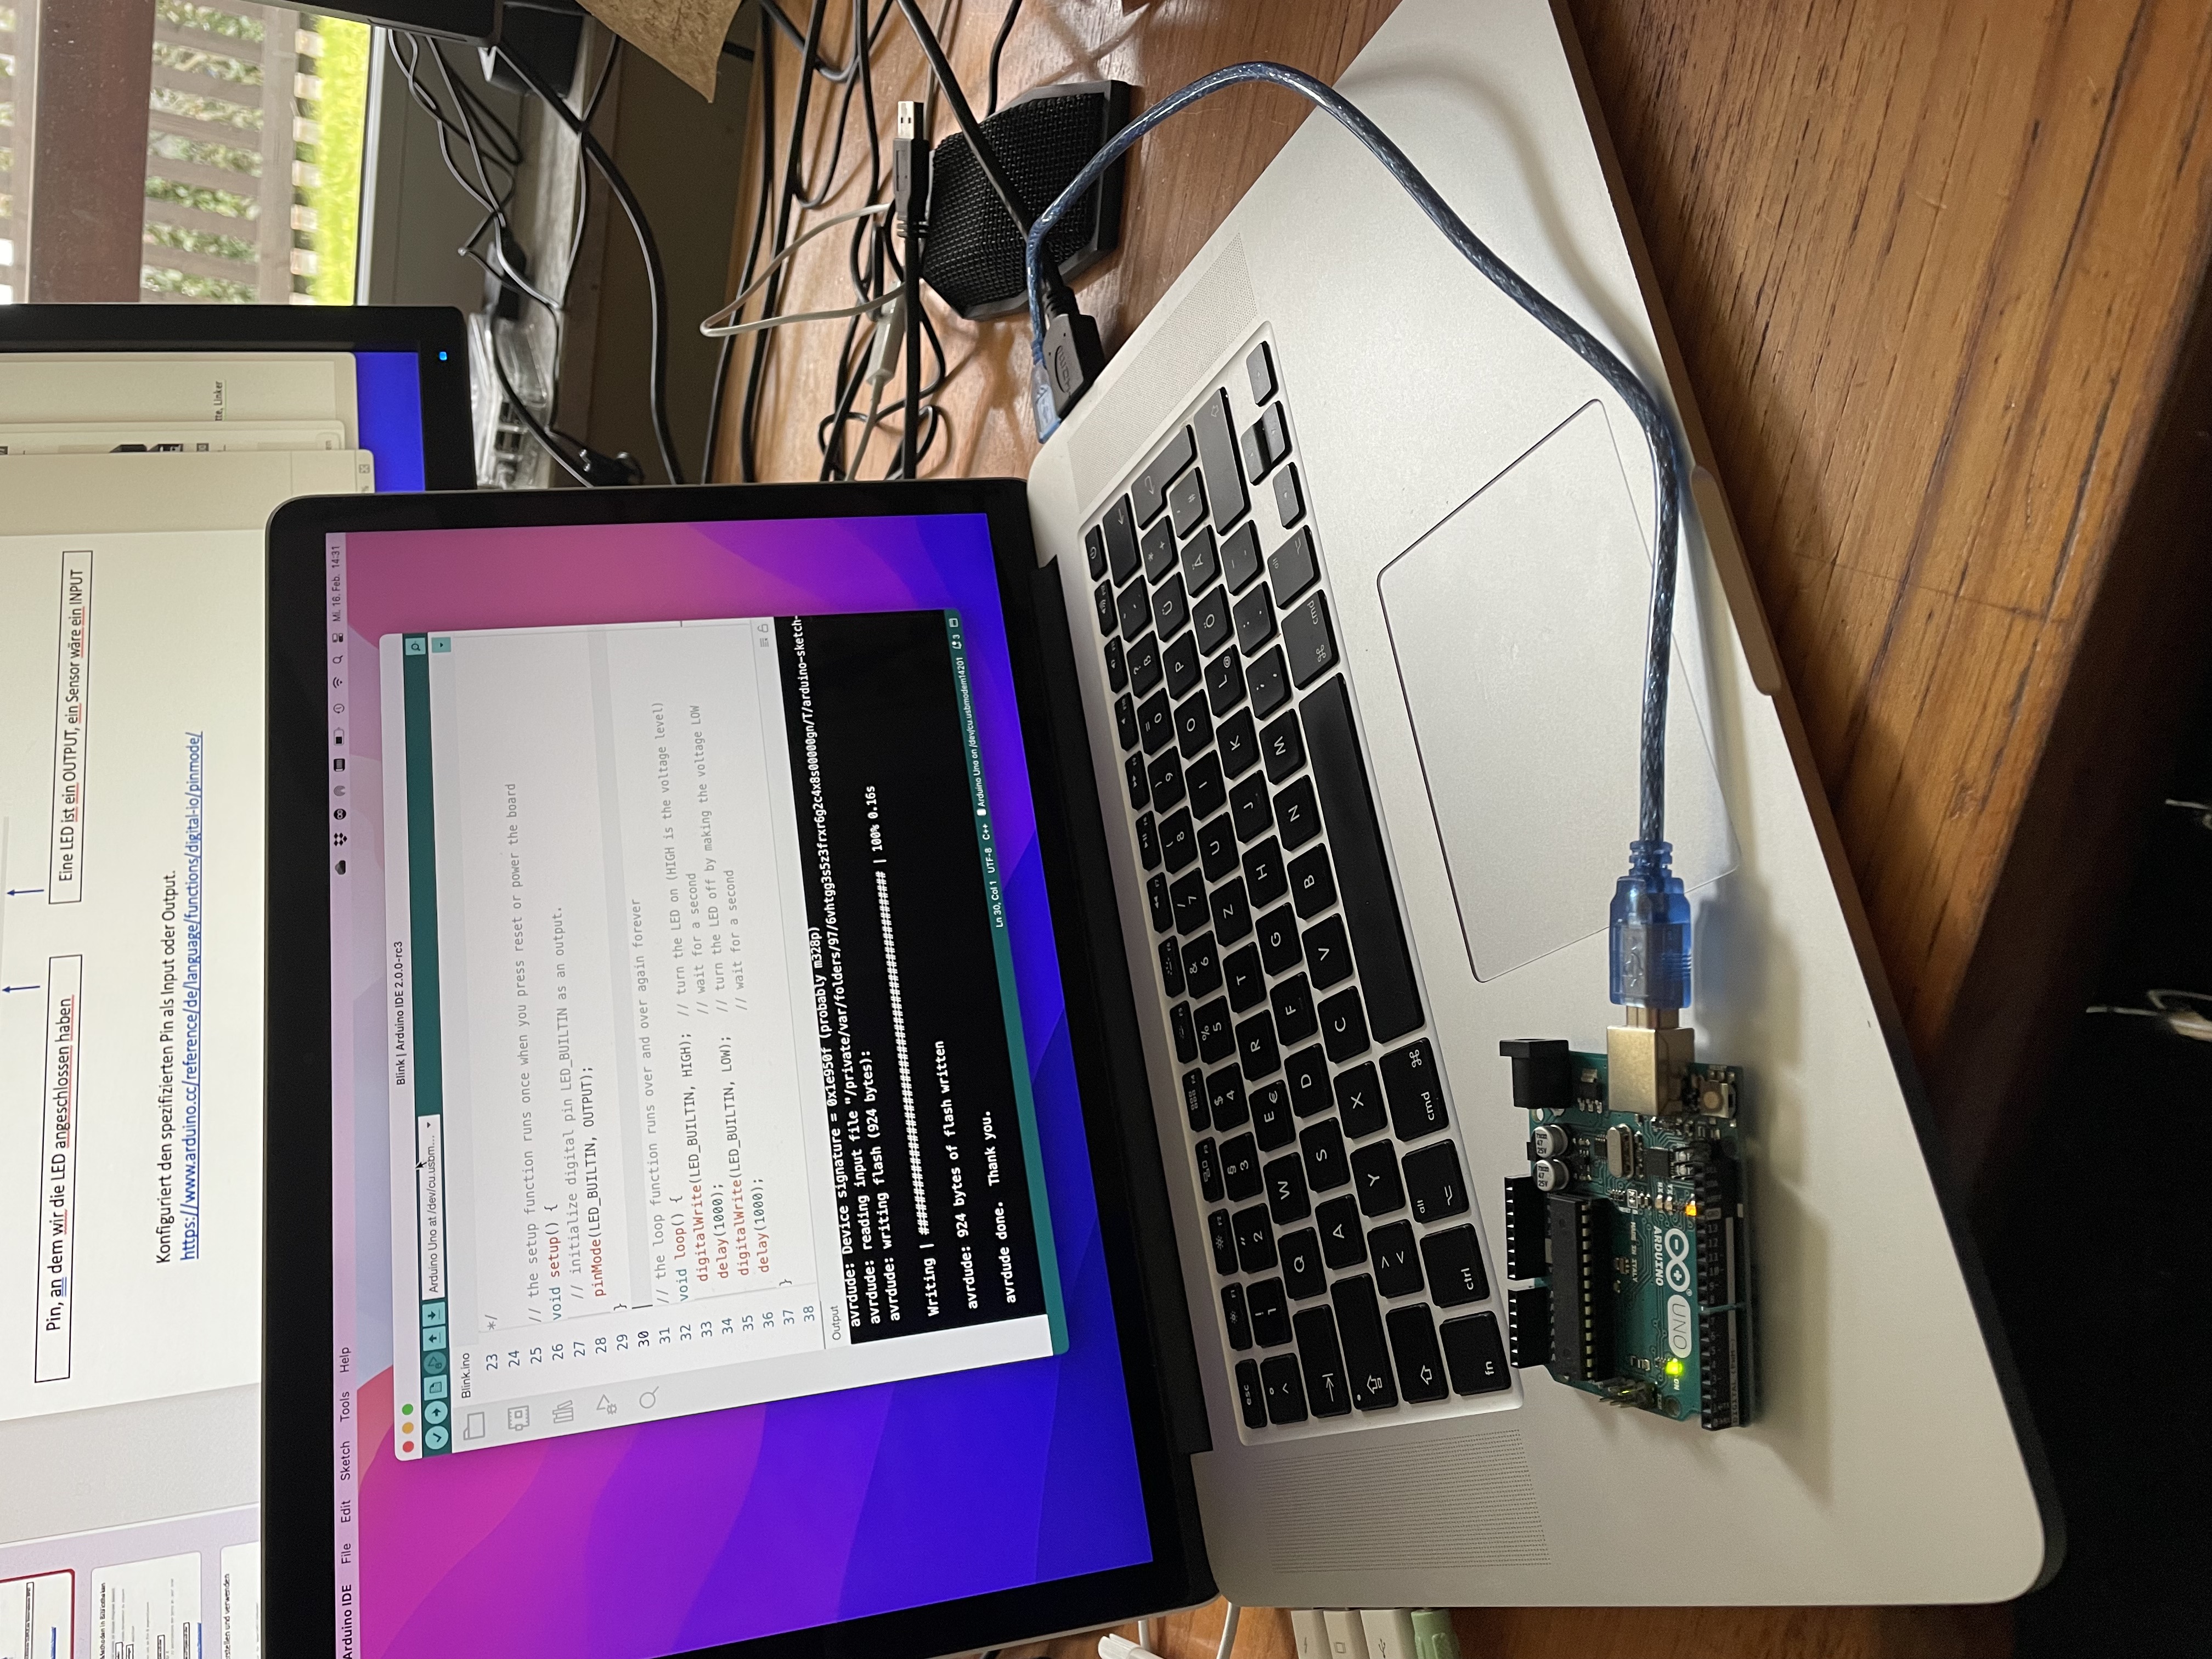
Eindrücke aus früheren Kursen
Hier noch einige weitere Bilder von früheren Kursen - wir bieten unsere Kurse explizit auch für Kinder und Jugendliche ab 14 Jahren an - unter 14 Jahren bitten wir um Begleitung eines Erwachsenen.